
I cut large triangles out of lots of different materia, not equilateral nor straight in any way but I'm sure sowing in a straight line isn't hard....

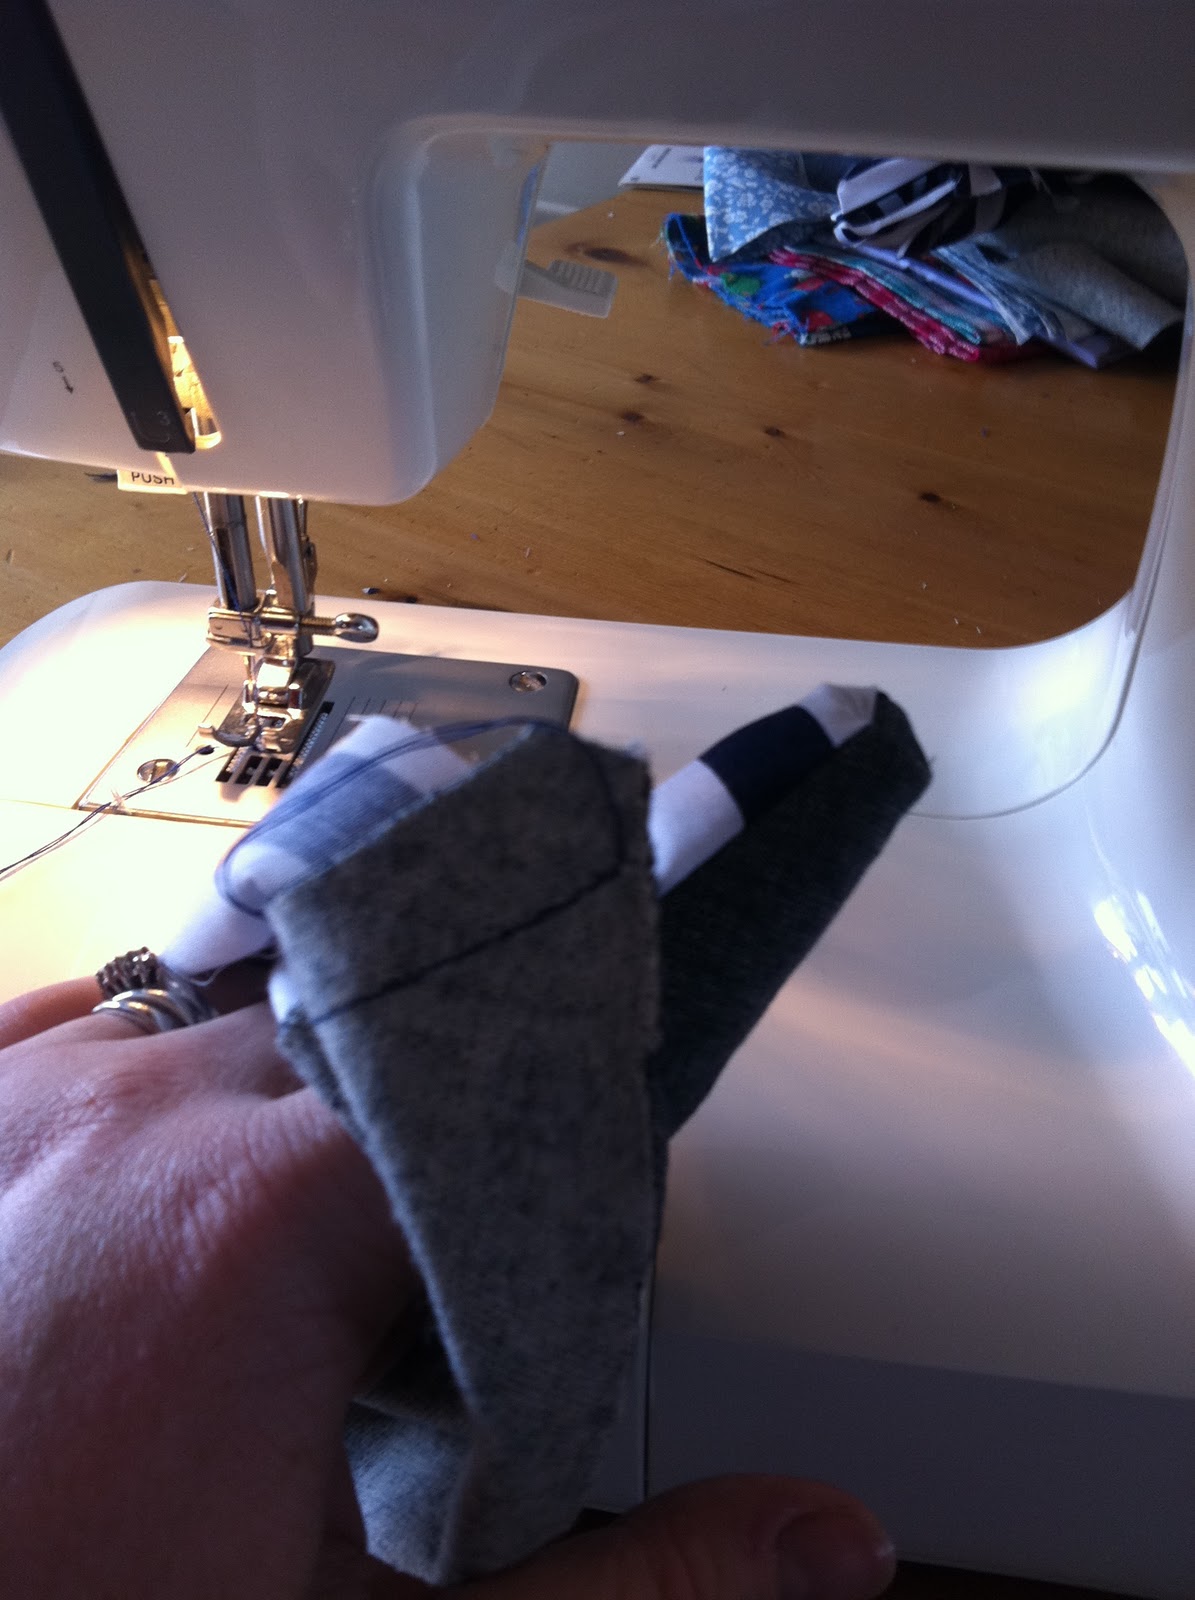
REMEMBER: good side kiss together, I had to make kissing noises as I made all of them because d'ya know it's hard to rip machine sown things....pin them

Sow along the two long sides in a random pattern as you wish, it's homemade it doesn't have to be straight

Cut a piece out of the bottom triangle and put little slits in the side so it will flatten better when you turn it inside out (or so my mother told me... it didn't but I'm not questioning her)
Turn inside out and I used a chop stick to push the bottom point out, don't push too hard or your bunting will begin to resemble swizz cheese. A good iron to material is what cover up is to spots, covers alot of imperfections! So iron the bunting flat....I had to iron mine twice, I don't know if it was a case of the iron wasn't hot enough or I really made a mess of it!
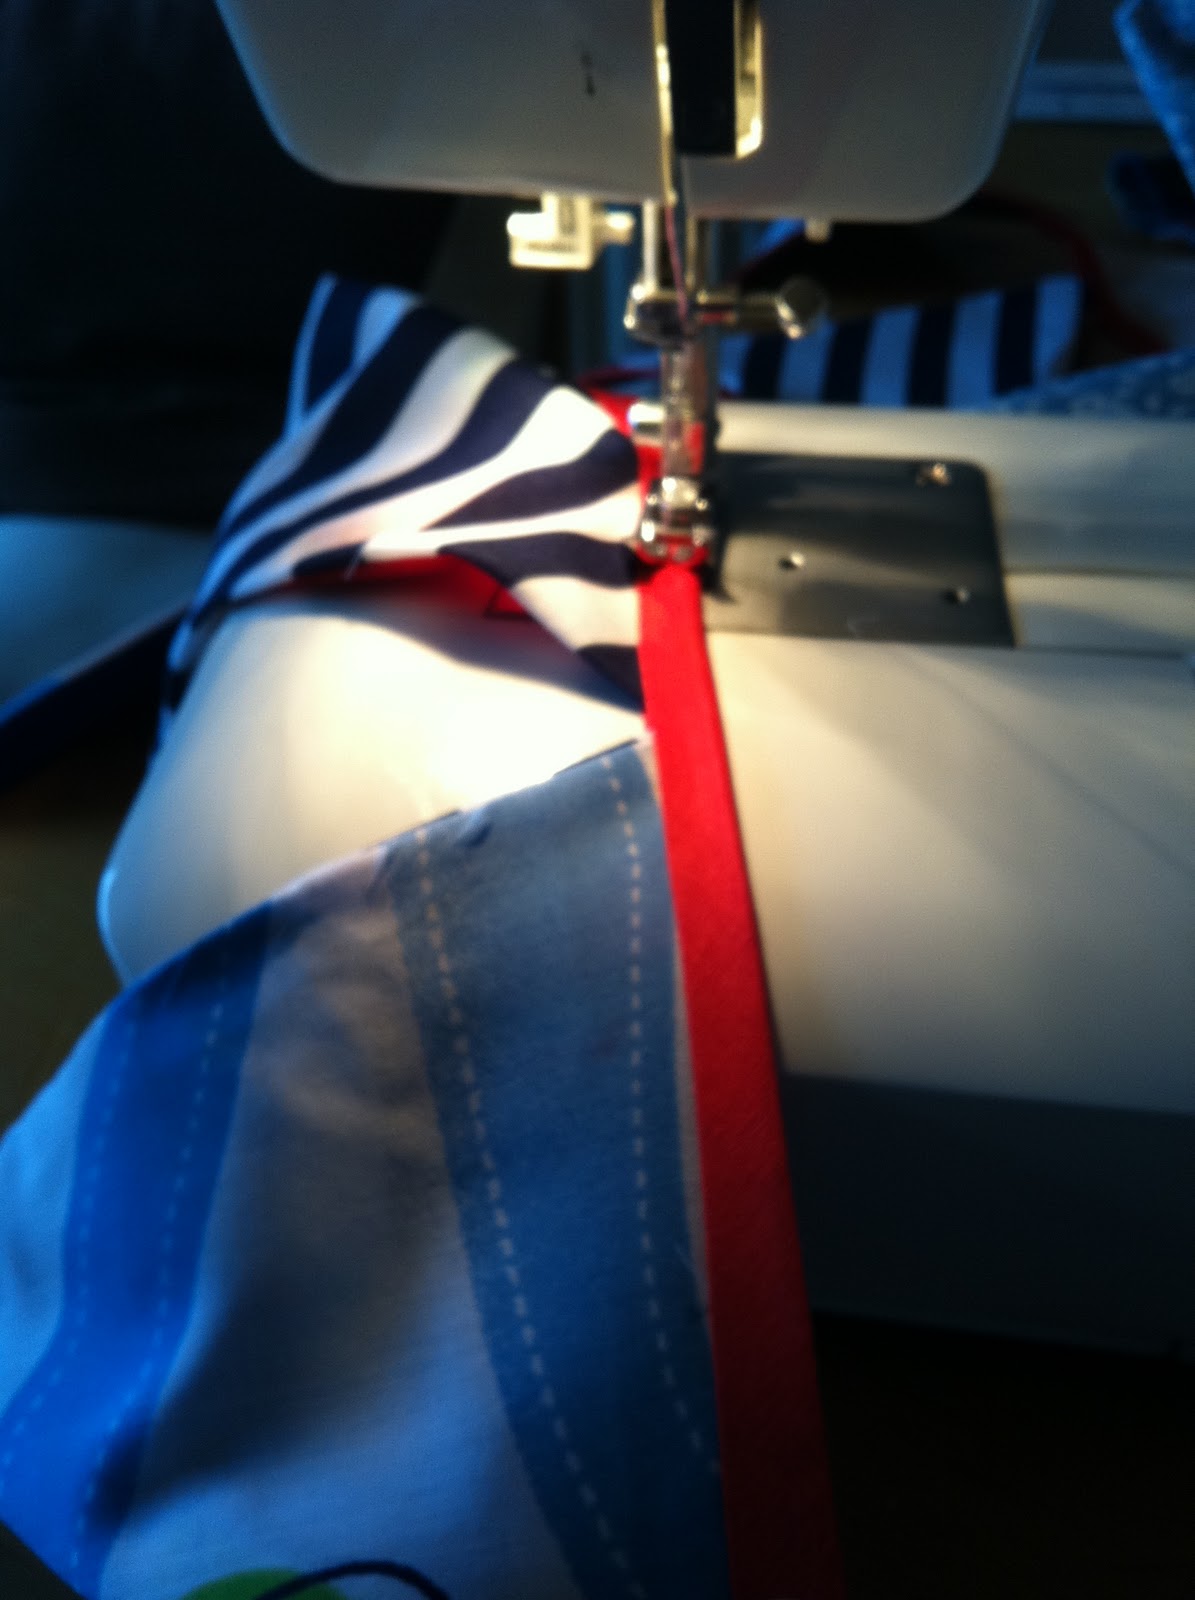
I got some nice red bunting and ironed it in half, then I slowly sowed each piece into the middle of the bunting (who am I kidding, I had no control over my foot and it just flew through it and the machine ran out of red thread after the first one, so I ended up using brown, pink and blue thread...really need to get some machine thread not just the packs you get free in hotels)

Ta-da... I wasn't too impressed when they were finished but once I stuck it up in Eli's room they were perfect

Now... time to put the sowing machine away that took farrrr longer than expected!
it looks great :D
ReplyDeleteThat looks fantastic, I am definitely going to have to give this a go. I have some spare material left over from Ethan's curtain :)
ReplyDelete